Saturday, April 3, 2010

Live gig video

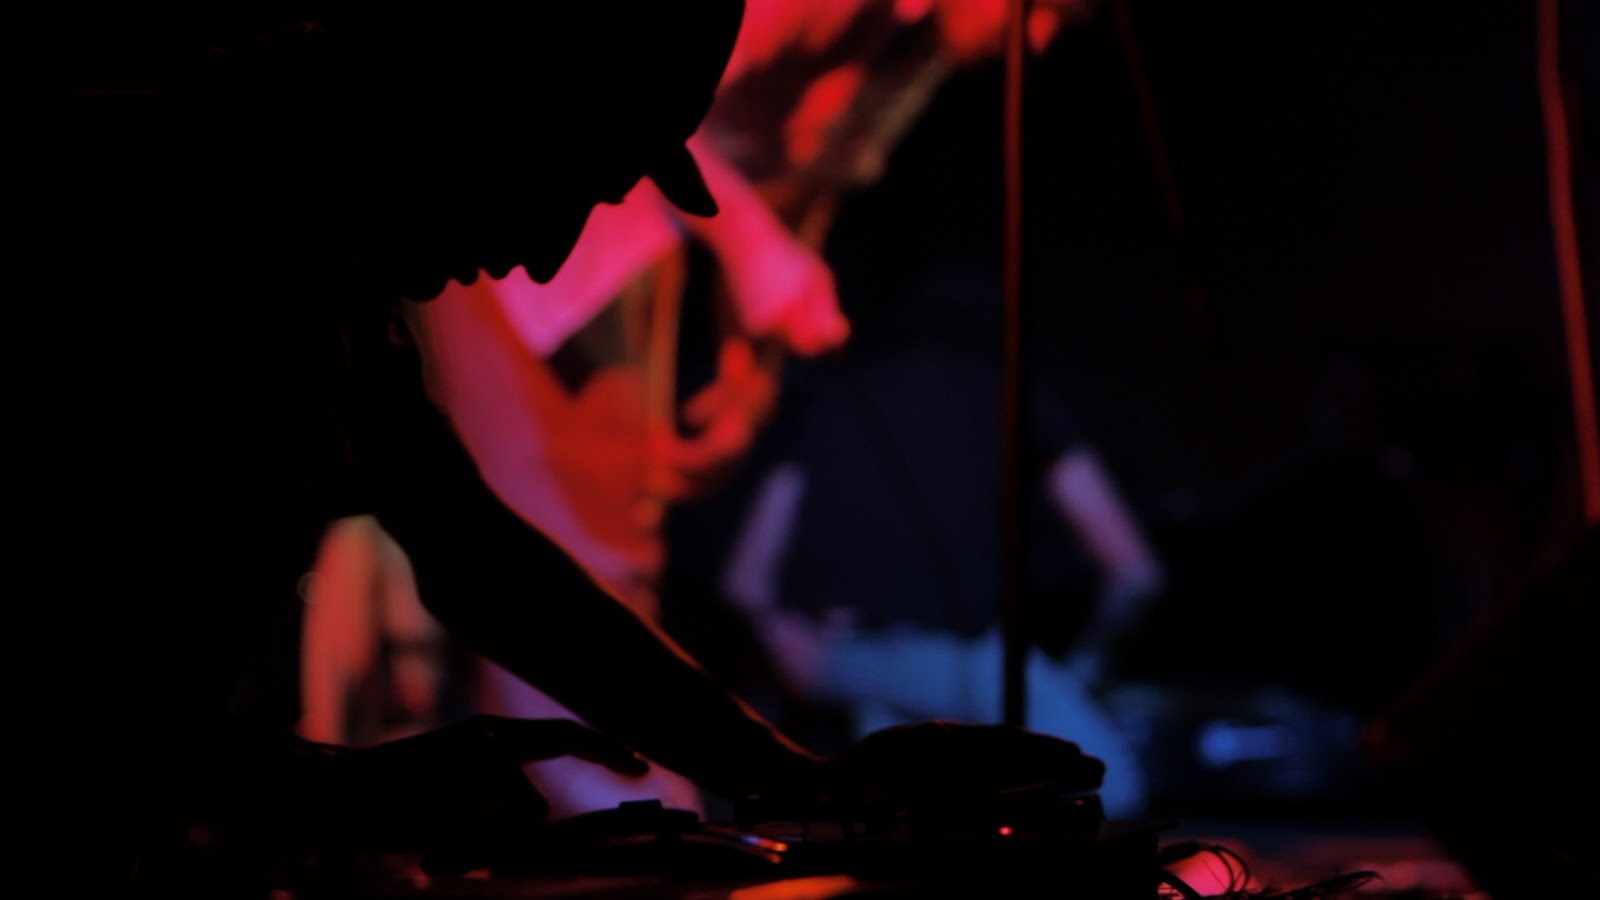
Here we go, from the footage i shot last saturday night, i've put together a rough edit of one of the songs (Ruby) from The Codebreaker's set. I didn't quite have enough cutaway footage to edit the whole song, so i've cut it up a little bit, just to give a feel of the night. Am still experimenting a bit with focus pulling and what works well, and considering all the footage was handheld, i am very satisfied with the quality. As i mentioned earlier though, the depth of field at f2.8 is very thin and i think to be safe i may try for f4 or 5.6 next time, just to give me that extra leeway for moving subjects. Still, it can be a very striking look, and the last shot of the video in particular is my favourite.


thanks,

Luke

Wednesday, March 31, 2010

Filming a live gig

On the weekend i had the opportunity to help a friend film a gig at Bodega for the band The Codebreakers. The footage will eventually be used for the bands debut music video, which my friend is making. I went along mainly to help collect cutaway footage, but also to put my new 70-200mm L 2.8 IS lens through its paces. It was an absolute joy to shoot with, shooting at f2.8 meant that the depth of field was razor thin though so continually focusing as i filmed was a must. So there were often times when the musicians would drift in and out of focus, in a harmonic/rhythmic sort of way. It's funny because it is a technique i have been seeing more and more recently, especially in mainstream music videos... is it intentional? or just poor focus pulling? haha

Still though, am very happy with the results and hope to post the footage in some sort of clip very shortly. in the meantime though here are a few screen shots from the footage.


Luke

Thursday, March 25, 2010

Making your own lens gears... on the cheap.

A few months back i decided it was time to invest in a filmmaking rig for my Canon 7D, i bought (among other things) a RedRock Micro Follow Focus (which i love btw! professional build and top performance!) i intially used the RedRock lens gears that came with the unit, i was not a fan of them however due to their clunky appearance and the amount of room that my lenses now took up in their cases with the lens gears attached. Zacuto has a very nice system but at $62US per zip gear that system was was just far too overpriced for me. I must add at this stage that i am a big Zacuto fan, i own both the mini baseplate and a Z-Finder V2 and they are invaluable to my kit. But when you're on a budget and you need make your money stretch, sometimes you need to get creative...


Zacuto's Lens gears (on the left) and RedRock Micro's Lens gears (right).

So at this stage i took it upon myself to construct my own zip gears in an effort to emulate the Zacuto ones but to do so at a fraction of the cost. (which i figure to be about $12-18 per zip gear, depending on what materials you have lying around).


Firstly i bought some zip gear replacement gears from Zacuto http://store.zacuto.com/zip-gear-replacement.html , these are $12 a piece, 0.8 pitch and will work with most follow focus units. You will probably need one of these for each of your lenses, but if you use smaller manual primes with hard stops (i.e. Nikon, Zeiss lenses) you can probably cut them in half and make two gears from it. You will also need a cable zip tie (you know the ones that have the click stops, you fasten things with), you can get them from any hardware store in packs of 50-500, just make sure they're a similar width to the zip gear.


From here, take some double sided tape and apply it to the length of the cable tie, cutting the sides off it it overhangs.


Next, take your Zacuto zip gear replacement, work out how long your zip gear needs to be and cut it at the appropriate mark. Dont worry about the length of your cable tie as this will be cut at the very end. Secure the gear on the top side of the cable zip tie, the double sided tape should hold it firmly. Then, take a long and thin strip of electrical tape and wrap that tightly around the end of the gear and cable tie at both ends to secure it. This, combined with the double sided tape and the tie being wrapped tightly around the lens, will very securely hold the unit together. (I must mention that i did try using glue for this stage but i couldn't find a suitable glue that would bond well, plastic on plastic gluing is not recommended).


Next, wrap your new Zip gear around your lens' focus ring, pull it tight until the unit get any tighter (i.e. no more 'clicking'), then cut off the excess cable tie that is poking through, and viola! now you have a sturdy, small and inexpensive zip gear for your lens! and if you need to take it off your lens (for whatever reason) you can easily cut the cable tie, not ideal, but at least it's only 10c to grab another cable tie and make another lens gear from it.


The 70-200 2.8 L IS, one big lens! one cable tie was not quite enough so i took another
one to give it a little extension.


Nikon 50mm 1.8, as this lens has hard stops on its focus range you only need a smaller
amount of zip gear. Whereas with my Canon lenses i prefer to put as much as possible on
to prevent over running the gear accidentally.


The lens gear in action, very small and discreet, functions perfectly too, doesn't budge one
bit. as i mentioned earlier, while you may not think that double sided tape and electrical
tape on the ends will keep the unit together, that and the force of it being pulled tightly
around the lens keeps the gear movement free, its a very sturdy system.


Anyways, i hope this is of some use to filmmakers out there, thanks for reading.

Luke

Friday, March 12, 2010

Playing around with Magic Bullet Looks

I have just picked up Magic Bullet Looks so i figured i'd give it a little whirl and check out some of its features, playing around with some footage i shot over summer while on the Desert Road in the North Island. I was going for a Assassination of Jesse James type look, very glowing and almost dream like. Am very thrilled with the software so far though, and this is only after a brief test. See my before and after shots below.

Wednesday, January 27, 2010

a bit of silliness

I recently had the oppourtunity to go along to my friend Adam's competitive weightlifting debut at The Powerhouse Gym here in Wellington, i took my 7D along with me to take some photos for him as well. Halfway through though, a number of ideas started rolling in my head and i decided to video his lifts instead and make a short video of it all, using the slow motion (50fps) function of the camera. I chucked together a quick edit of the footage that night, all very tongue and cheek of course.

Enjoy.

wait! you can use a DSLR to take photos?

Having owned both a Canon 5D mk II and a 7D in the past 6 months soley for their video acquisition features, it's easy to forget that they are both premium DSLR photography cameras in their own rights. While i am definitely a novice at photography i have really enjoyed getting out there playing around with the stills side of these cameras recently. Below are a few of my favourite photographs that i have taken during the past 6 months. Nothing too special, but i thought i'd share.


I took this shot outside my old flat at about 1am one night, it was pitch black and took me an age to get it right. Definitely worth it though, love the result. (Canon 5D mk II, 50mm 1.8, 30sec exposure)


I took this on a recent trip to Taupo with some friends, we visited the local carnival that was in town one night, and we were treated to a gorgeous summer night sky. I was really fighting the fading light here but i still love the shot. (Canon 7D, 28-135mm, 1/20th exposure)


Every trip to my folks place generally involves me taking many photos of Scooter, a very photogenic ball of fluff. This is my favourite. (Canon 5D, 50mm 1.8, 1/20th)


Taken on the last night of a recent road trip, we stopped in Palmy, and just as i was unloading the car, i turned to see the whole road illuminated by this brilliant glow, i ran inside to grab the camera to try and capture it. (Canon 7D, 28-135, 1/30th)


Luke

Friday, November 13, 2009

Cushions

It's finished! my music video Directorial debut is now online. It was long edit but i'm really happy to have the video finished and released. A lot of work being Director, DOP and producer, but its not bad at all for a two person crew i reckon. Shot on the Canon 5D mkII.

Hope you enjoy it.

.


Luke